Webapplication
The web client is written in Elm. The tus javascript client library is used to realize the resumable uploads. All the css is provided by TailwindCSS.
Creating a new share
After logging in, you can create new shares:
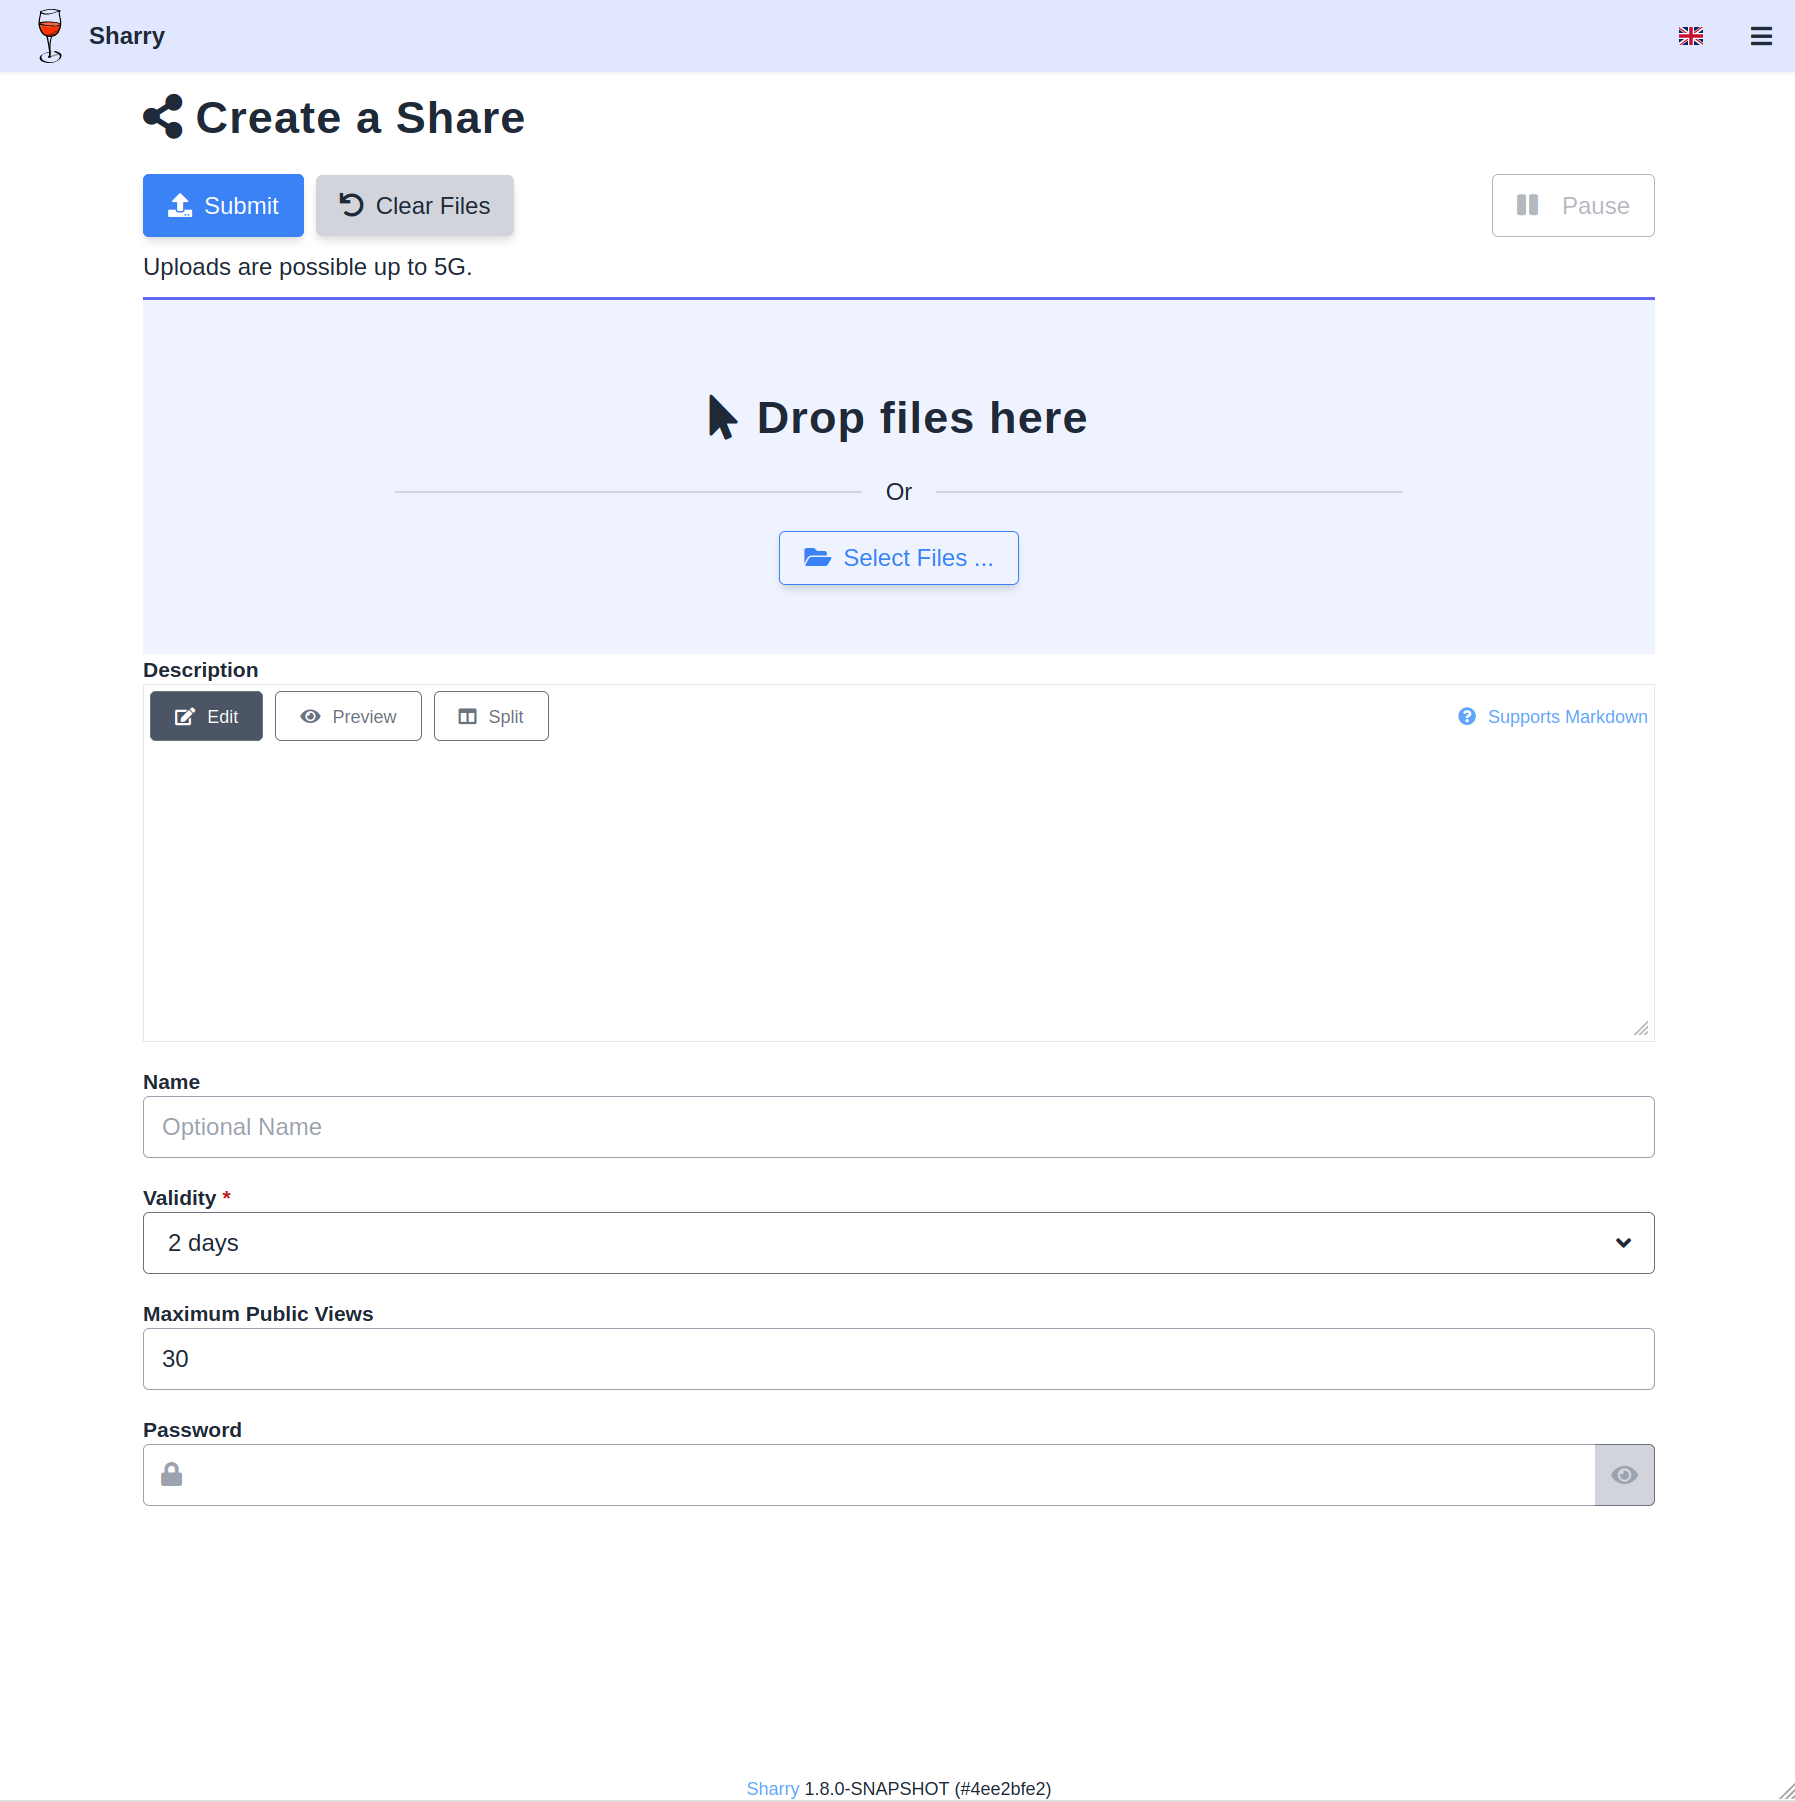
The details are all optional and can also be changed afterwards. It is required to specfiy a description, some files or both. Otherwise submitting won’t work.
The detail options are explained below.
Name
A share may have a name. This name is mainly meant for the owner to
helps finding shares easier in the list view. The name will also be
used as the head line, if the description doesn’t contain a markdown
headline (a line starting with #). In that case, users who access
the published site, will see it.
Description
You can add some text to a share which will be displayed at the download page. The description can be markdown and is converted to HTML when being displayed.
Furthermore, the description text is processed as a mustache template and allows to refer to the attached files. You can access the following properties of any uploaded file:
idfilenameurlmimetypesizelengthchecksum
The size is the file size as a human readable string, while length
is the number in bytes. You can refer to files using their name or
index in the list. When using the file name, all dots in there must be
removed.
{{#file.0}}{{url}}{{/file.0}}
or
{{filename.dsc0100JPG.url}}
This makes it possible to embed files in the description, for example to display an image file, you could write the following description:

There is also a files property that can be used to iterate through
all uploaded files. So this would render the id and url of all files:
{{#files}}
- {{id}}: {{url}}
{{/files}}
Validity Time
Every upload has a validity time after which the uploaded files are “expired”. Then the public download page is not visible anymore and the files can’t be downloaded from non-protected urls.
The files are there and the user that owns them still has access. They are eventually removed by a cleanup job.
Password
The files can be further protected by a password. The download page requires this password in order to download the files.
The idea is that this password is a second secret, next to the url. You can share the URL using one channel (maybe e-mail) and the password using another channel. A person must have both things in order to see the files.
Maximum Views
This setting restricts the number of accesses to the download page. If the download page is accessed more than this number, it will not work anymore.
Download All as ZIP
When a share is published, the download page shows a Download All
button that lets visitors download all files in the share as a single
ZIP archive. The button is only shown when the total size of the share
is within the limit configured by zip-max-size (see
configuration). If the administrator has set
zip-max-size = "0", the button is hidden entirely.
Publish / Unpublish / Republish
A share that has not been published can only be accessed by its owner.
In order to create a link for everyone else, click the Publish
button in the top right of the detail view of a share.
![]()
Once a share is published that circle is green.

The expiry time is calculated from the validity time added to the point in time the share is publshed. You’ll see it in the details pane.
If the share is published you can get the link clicking on the Share Link pane. You can copy&paste it, scan the QR code or send it via e-Mail (if sharry is configured for that, it can be sent directly in the webapp).
You can unpublish a share at any time. The public link will immediately stop working and the circle will be empty. Then there are two options for publishing it again: one will generate a new random link, the other option reuses the current public link. If you hit the Publish button in the top right corner again, the share will be published anew – meaning the current validity time is added to the current point in time, but the public link will not change. All people that you have shared it with earlier can immediately open the site again.
If you rather like to publish it to a new URL, click the black publish button at the bottom of the Detail pane (see the screenshot below).
Edit Details
The share properties can be changed in the detail view of a share. The detail view consists of a top menu, then follows the description, then the file list menu and finally the list of files.
Open the Detail tab in the top menu to see all properties.
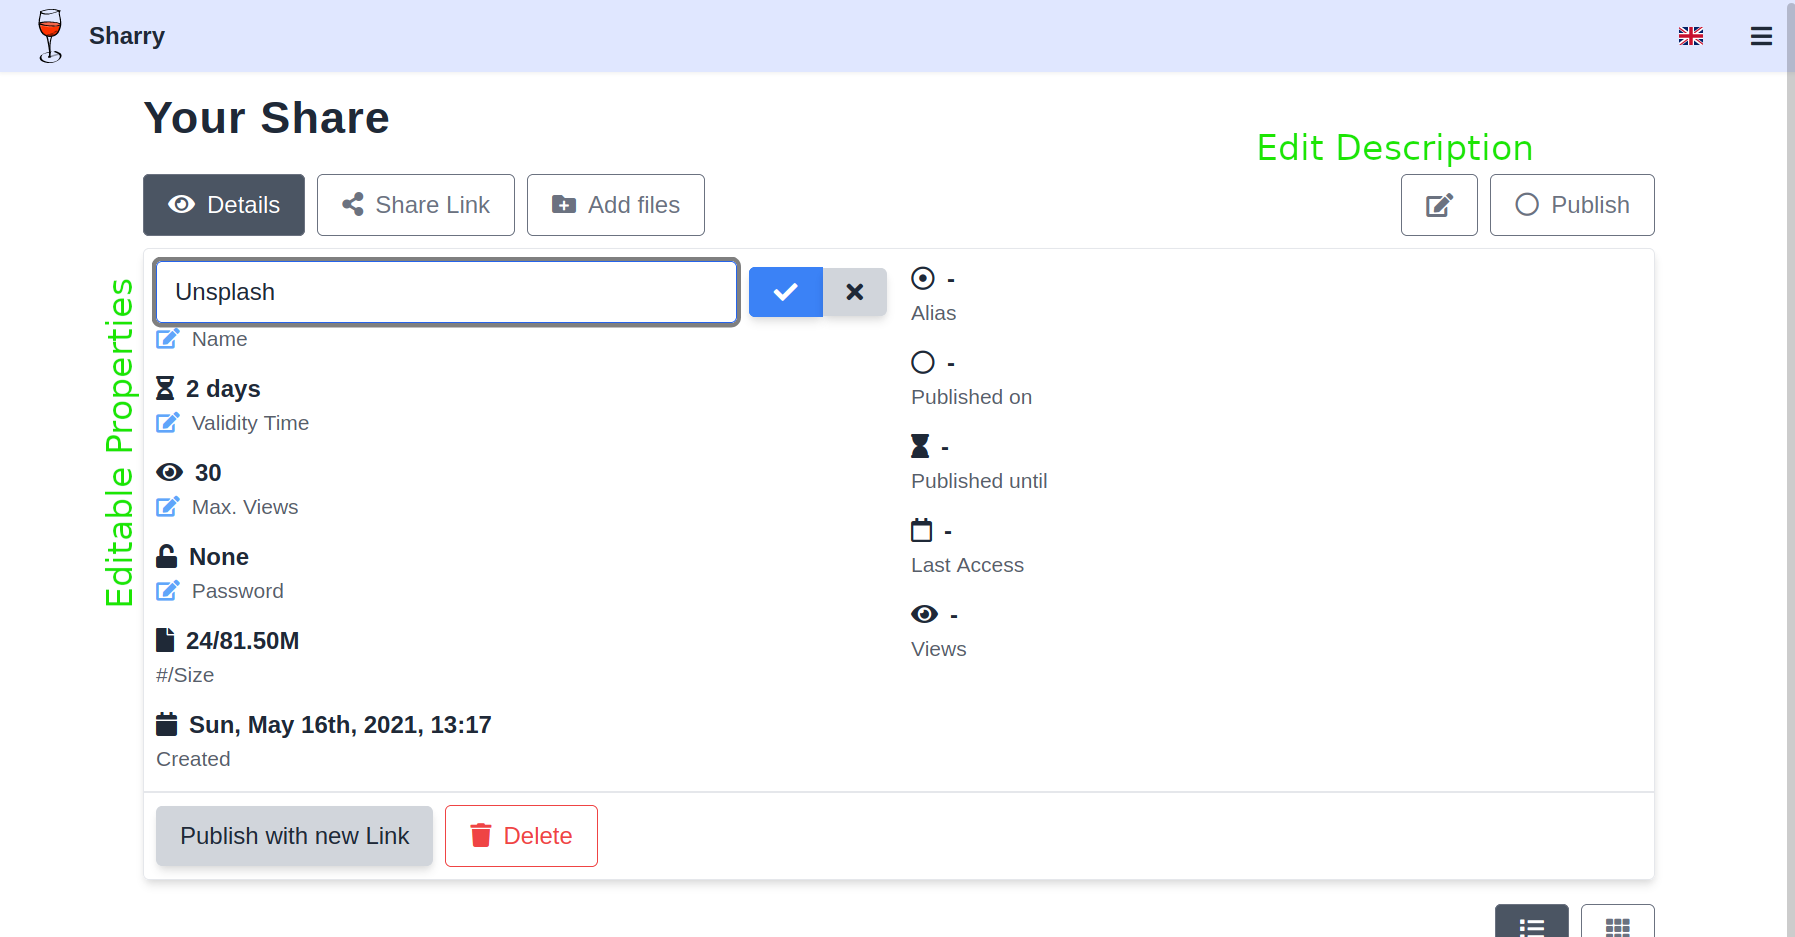
Properties that have the little blue edit icon in front of their names can be changed by clicking that icon.
The description can be edited by clicking the edit icon next to the
Publish button in the top right corner.
It is also possible to add or remove files of that share. Click the right menu item of the file list menu and the upload form appears.
Alias Pages
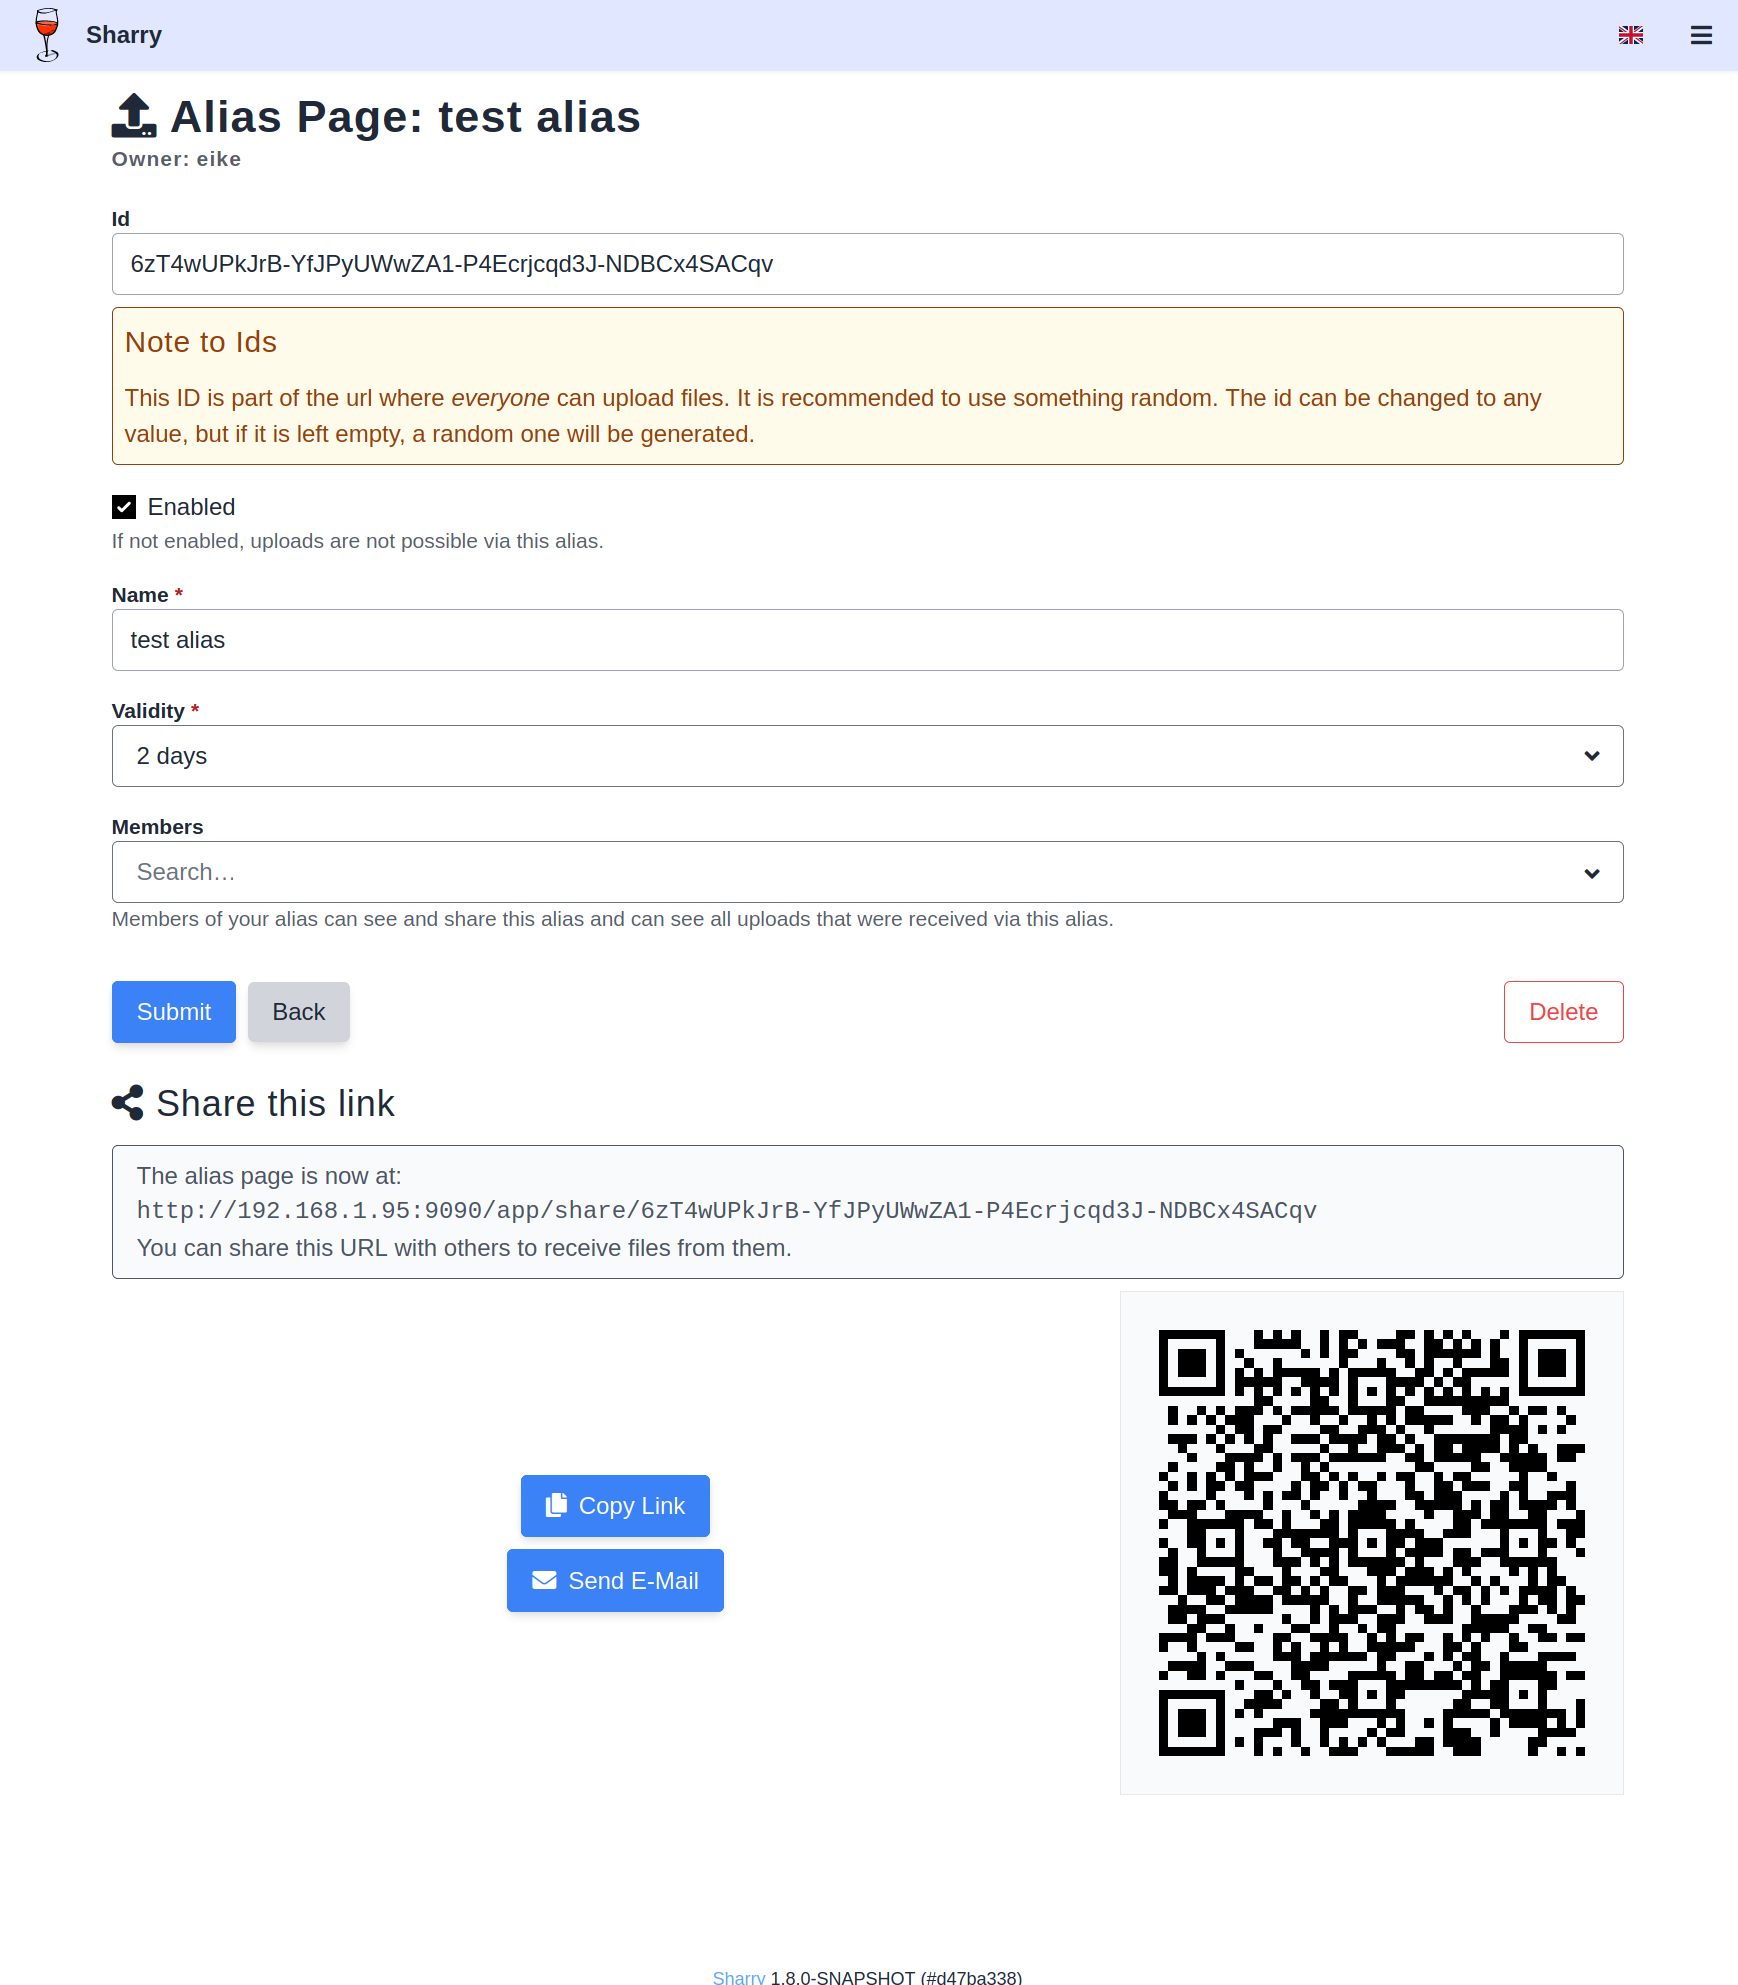
The alias page is a way to let other users upload files for you. The idea is the same as with shared downloads: there is a cryptic URL you can share with others. This url allows to upload files that will be associated to the owner of that alias page.
Click in the top right menu that opens a drop down menu and choose Aliases. There you can create, edit and remove alias pages.
Alias pages are also convenient for quickly uploading files for yourself, as they don’t require any authentication. For example, using curl you could do:
$ curl -H'Sharry-Alias: E5EohHtJHxN' -F file=@test.jpg -F file=@logo.jpg http://localhost:9090/api/v2/alias/upload
{"success":true,"message":"Share created.","id":"FDQvHK2LVGe-SjkDjQxMiSo-8fPyBqKX3AY-nmWWnDsrRX3"}
See the REST page for more details on the various routes.
Alias Members
An alias can specify a list of users that are then members of that alias. This allows to give access to all uploads through this alias to the members. Every member can edit/delete/publish etc the shares that are created via the corresponding alias.
While all members can see the alias and manage corresponding uploads, editing its properties is only possible by its creator.
This may be useful to give a group of people access to the same files and to make it simpler to share files among registered users.